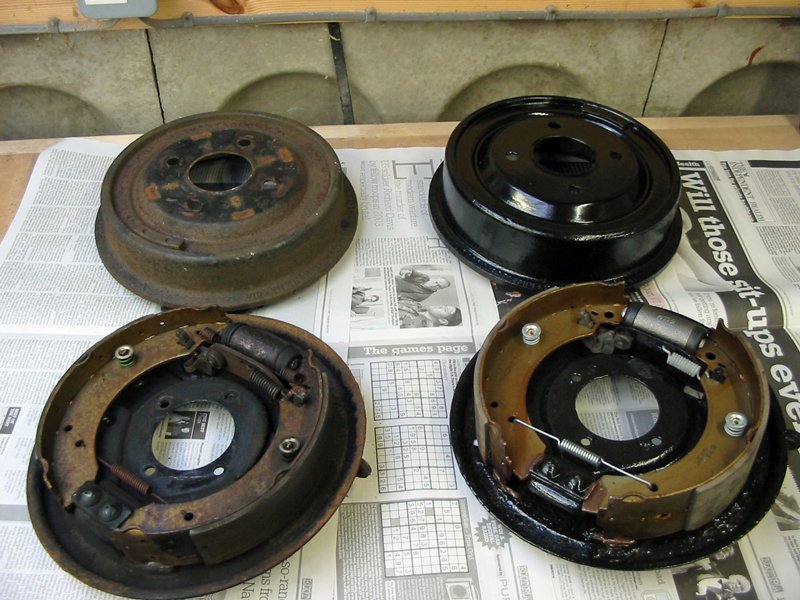
The ladies tell me that an extra inch can make all the difference  On the left is the old 8″ drum setup, rather creaky, stiff and tired looking, but otherwise still serviceable. On the right is the replacement 9″ setup, off a 2.8, with new cylinders and springs, all greased up. I’m betting that there’s somewhere between “sod all” and “bugger all” noticeable difference between the two, but at least it was easy enough to do
For anyone refurbishing their rear brakes, you want to get hold of the Delphi Lockheed Brake Shoe Fitting Kit LY1006 – bear in mind it’s only about four quid from the motor factors, before you rush off to ebay…

 Originally Posted by graham bahr
Do you mock me, sir?  Especially for Graham, here’s a picture to show that the shafts went back in without any time spent cleaning up the hubs or anything
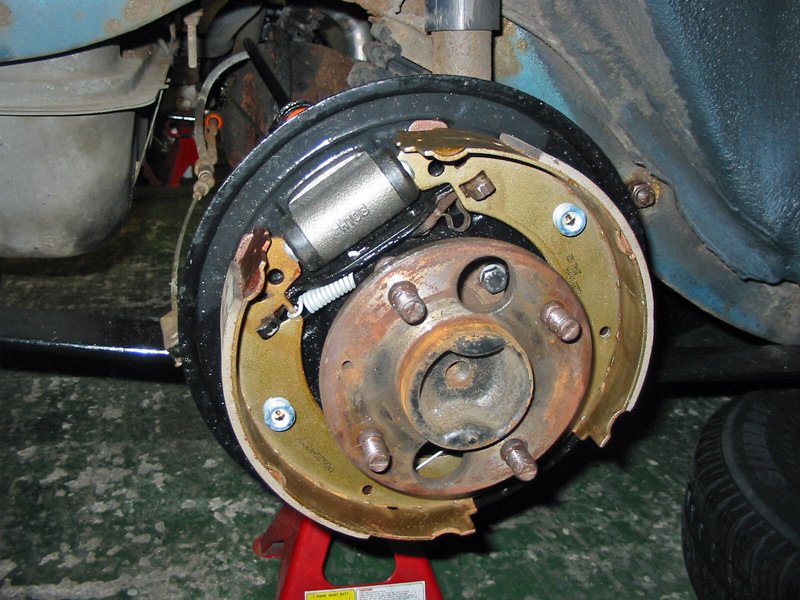
Would have been a simple job if I’d noticed the bolt holes on the axle flange didn’t form a perfect square, but that the forward two were closer together than the rears, meaning everything only lined up one way  Once I’d stopped grumbling and figured it out, it made it rather easier to line-up the driveshaft retainer plate and get everything bolted back together
Only remaining bit left to do before I can cross this job off the list is to fashion a “drum removal tool” to persuade one of the new drums back off so that I can re-adjust the clicky-thing for the shoes … the paint on the drum has made an interference fit with the wheel studs, so I can’t wiggle it off as you’d normally do 
EDIT 14/01/08 :
Mr_lizard : I’d use a dead blow hammer or a copper hide one and give belt the drum like your trying to get it on. Mine jump off nicely like that. There’s something to be said for not painting everything…………
dangerousdave : Stu i would wait till you have taken it for a drive, its all clean in there so the auto adjuster should be nice and free, and being an auto adjuster it should take up the slack when you use the brakes, sometimes takes a good few stamps on the pedal to get them to adjust, but also saves scratching the fresh paint