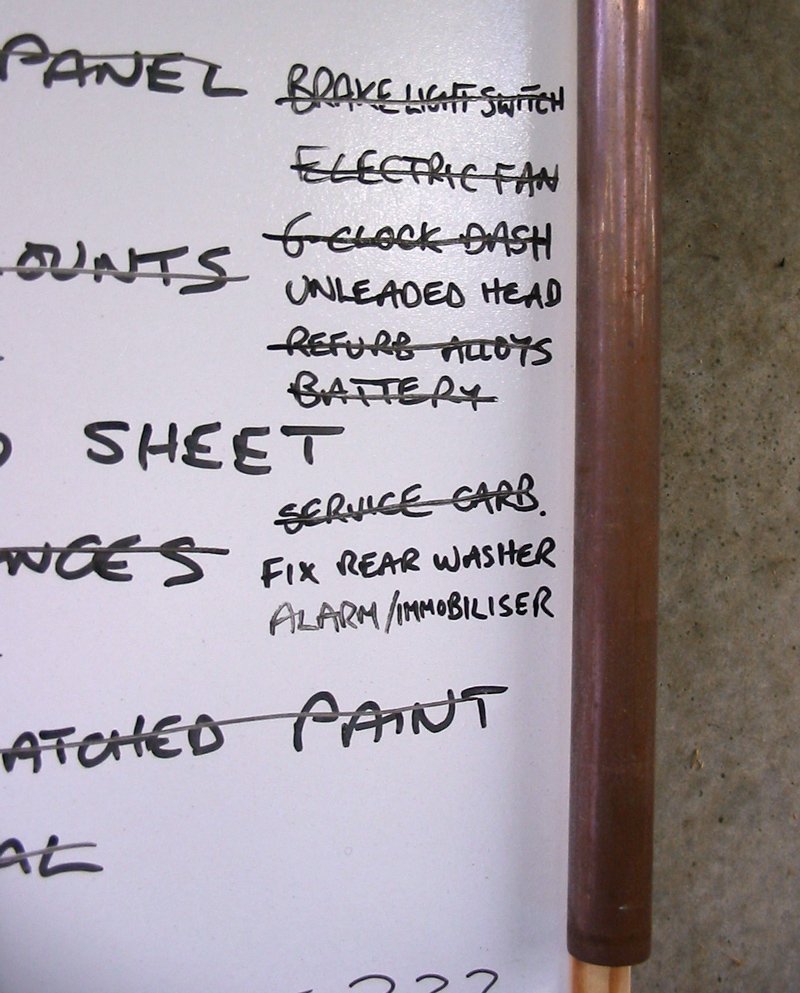
I had a look at the short-term section of the “to do list” whiteboard. This was from the start of the year and I’ve crossed more off than is left – see it’s not just random stuff that I do 
Having put the nice clean carb back on the engine, I couldn’t help noticing how grotty the rocker cover was. As it was coming off anyway to do the valve clearances, I took the chance to tidy it up a bit  Out came the grinder and off came all the bits that Ford spot-welded to the side – the original mounting points for the air filter supports and some brackets for clamping the plug leads. Haven’t played with the grinder for a while and it was fun

The rocker cover’s now getting a few coats of black Hammerite Smooth and then it’ll be good to go. Hopefully it won’t all just burn off first time I start the engine 
I’ve been trying to work out what to do for indicators for ages since I first got rid of the Mk3 bumper. At the moment, the old indicator units are cable-tied into the outer holes on the lower valance … which raised a smile from the MOT man if nothing else. I’m still undecided on this as a solution, it’s one of many permutations in my head …
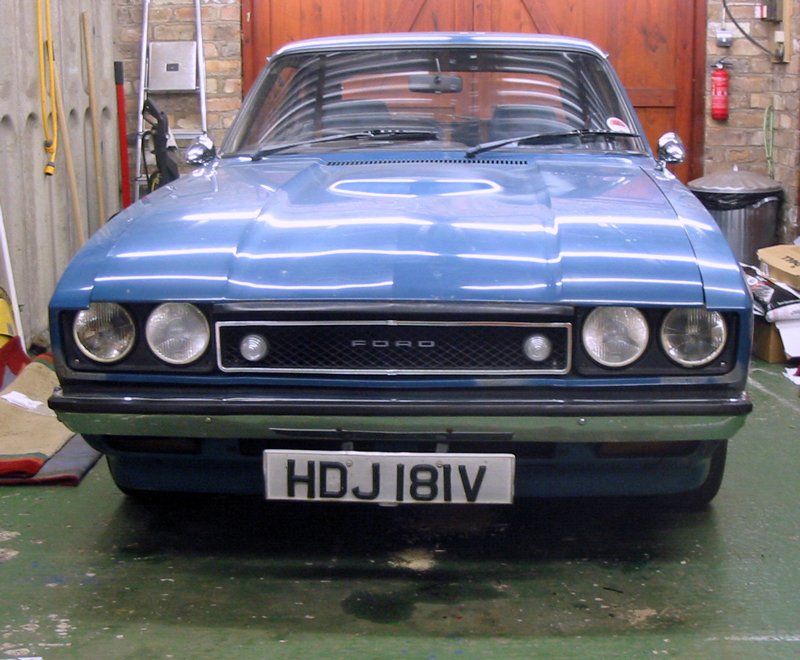
Today’s burning question has been “can one actually polish a turd?”  The main problem I’ve got with the car is that for all the work I’ve done on it so far, it still looks basically the same faded old, slightly rusty heap as when I got it – so people think nothing’s been done
  Don’t get me wrong, it’s not the end of the world and one thing it does do is photograph well
  If you’re standing far enough back to get the whole car in shot, the rust spots just sort of disappear.
With this in mind, I bought some new toys at Machine Mart’s VAT-free day, one of which was this sander/polisher.
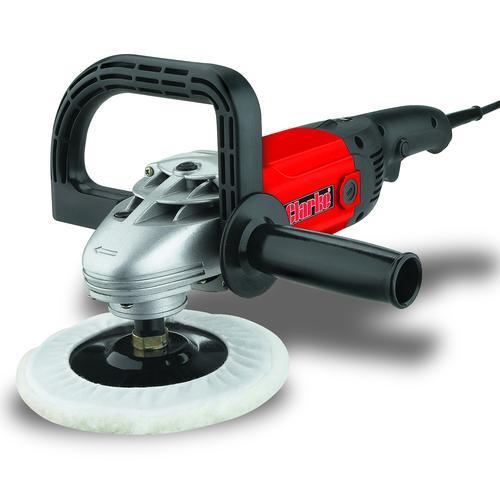
Armed with the polisher, a couple of extra foam pads, a tube of Farecla G3 cutting compound and the combined wisdom of the interweb I set to work. Gave the car a good wash, then put some paste on the bonnet, dampened the compounding foam, spun it off, worked the paste into the bonnet as gently as I could go, spritzed on some water, whizzed the bonnet again, then chickened out of doing any more and washed it down 
Well, it’s hard to see but its’ got swirl marks in it still, but I suspect that’s mostly to do with the fact that I need to follow up with a finer, less abrasive polish as the G3’s not a final finisher in any way – but initial impressions are that the colour’s a lot deeper and there’s a definite shine there 
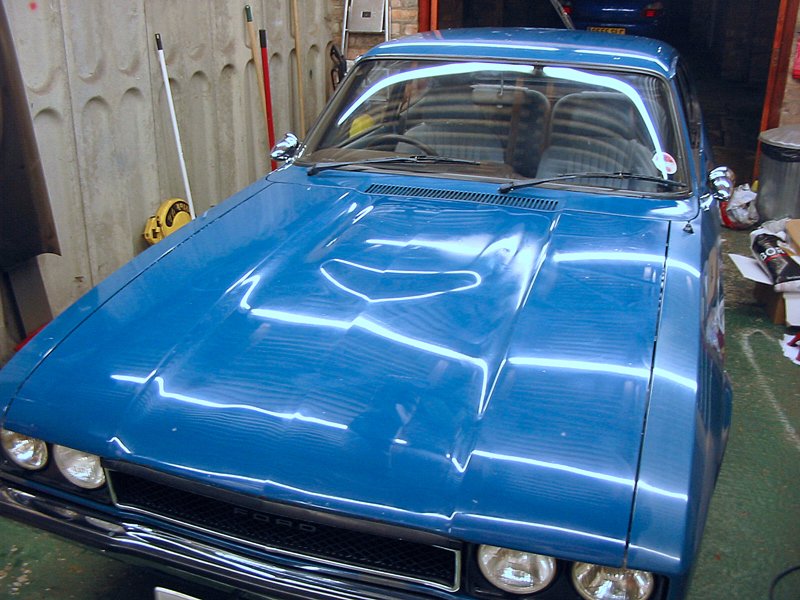
The untouched wing’s on the left and the bonnet’s on the right …
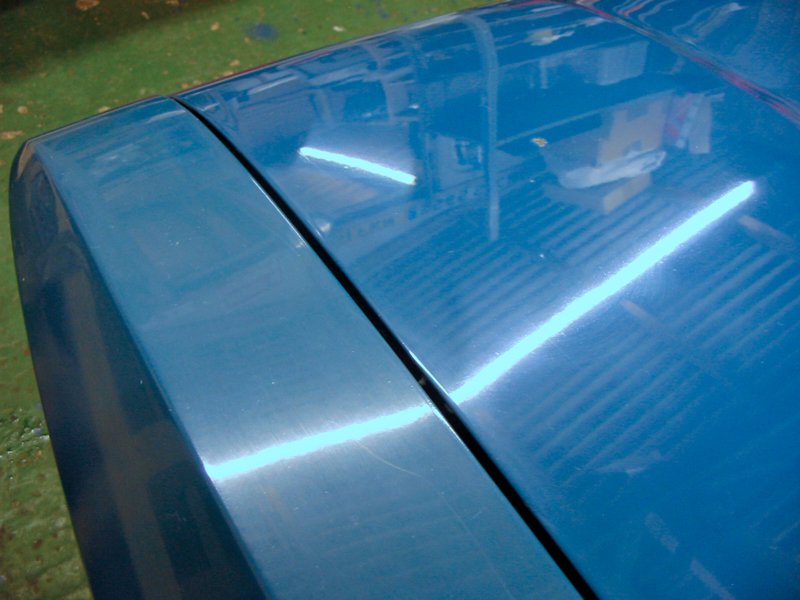
It’s a start at least – and it’s not like there isn’t an awful lot more car that I can practice on 
EDIT 07/05/2008:
merp0: T-Cut and elbow grease always works for me. Careful not to go through the paint on the edges of the panels Stu.
therealpinto: I say stick with the indicators in the valence. In the grille they make the car look too narrow, IMO.
treggo: Hey stu, I am having the same issue in regards to indicators on the front of my mk2 with mk3 lights.. The indicators in the grille i think are a bit to big and round, anyone have anymore ideas??
4drmatt: The bonnet has come up well everyone knows blue is the best colour for an old ford
dangerousdave: Looking good there stu How about sticking the indicators in the middle of the headlights at the bottom of the headlight thing if you get what i mean, might have to photoshop one if you cant work it out (im having trouble working it out!!) I think you can get small trailer lamps or something (smaller than your photoshop) which might do the trick??
4parajon: Your un-believable Stu……..you always make the most mundane pain in the arse jobs seem so interesting and it always fires me up back into the loading bay on mine
DarthVader: How about mk1 escort style indicators under the bumper
me: On the indicator issue, I think it’s going to run and run … then one day I’ll go “A-ha!” and the solution will be obvious. Until then, of course, keep the suggestions coming in