Spent an enjoyable afternoon out in the garage – football on the radio, Liverpool winning  , rain drumming down on the (now mostly leak free) roof and taking apart the rear suspension.
For some reason, the driver’s side is rusted up more than the passenger’s  I might have thought it’d be the other way round, using the logic that most puddles are on the passenger side … but then so is the exhaust, so maybe that offsets the puddle effect
Anyhoo, for anyone who gets to thinking they’d like to take off their rear springs, make sure that you give all the nuts and bolts a few doses of Plusgas or similar over a couple of days beforehand, and make sure you’ve got a 22mm (or 7/8″) deep ring spanner to get to the front spring bolt that’s inside the sill, and you’ll also need a 1/2″ spanner for the nuts on the rear shackles. The fuel tank leaves no room for sockets and breaker bars up there, so you’ll have to make do with a spanner 
I know some folks like to just attack everything with a grinder for speed of dismantling, so I guess the perverse side of me wanted to see if I could undo the whole lot without snapping anything 
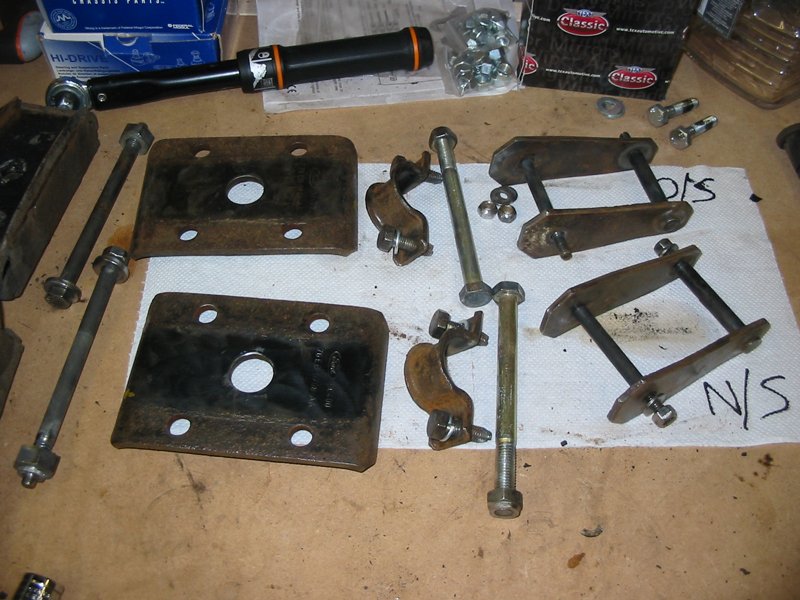
Tada  They’re now waiting a quick splash of Kurust followed by a bit of paint before going back on. U-bolts came off just as cleanly too, even though they could see the new ones on the shelf
The replacement single leafs have alot less bend in them out of the box, so it’ll be interesting to see how much the ride height changes and whether I need to get some different lowering blocks  Old ARB is 10mm and the replacement is 14mm – you can’t half feel the difference in rigidity
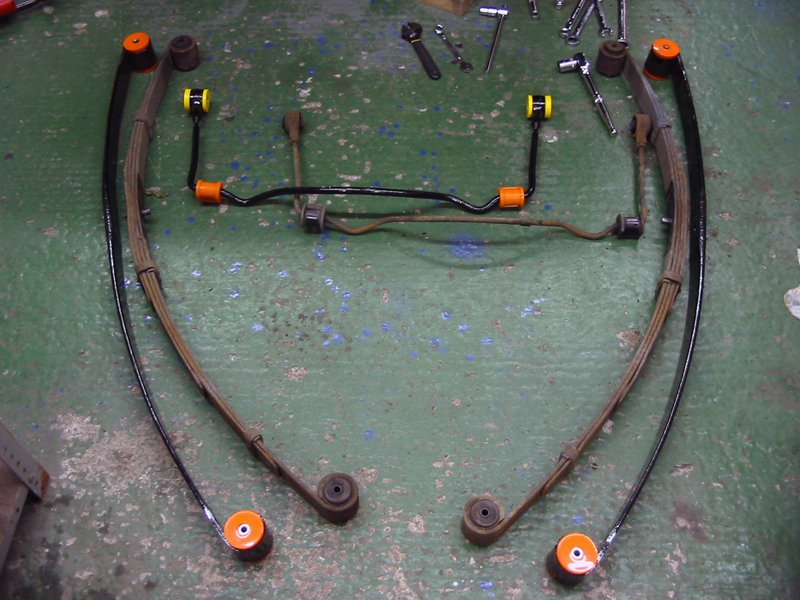
The single leaf springs are a teensy-weensy bit less bent than the multis  I may not be needing any lowering blocks after all…

The front ARB has now had the TCAs attached – not sure how “tight” the castle nuts on the end of the ARB are meant to be (book says 15 – 45 lb ), so for the moment they’re done up enough to expose the hole for the split pin between the ramparts on the nut … pretty darn tight, with the biggest breaker bar I’ve got

Struts are back on the car too – just imagine an earlier picture … but shinier 
No doubt many readers have been silently awaiting the first shots of the interior after I went and mentioned it this afternoon, so here it is in all of its’ pale blueness …

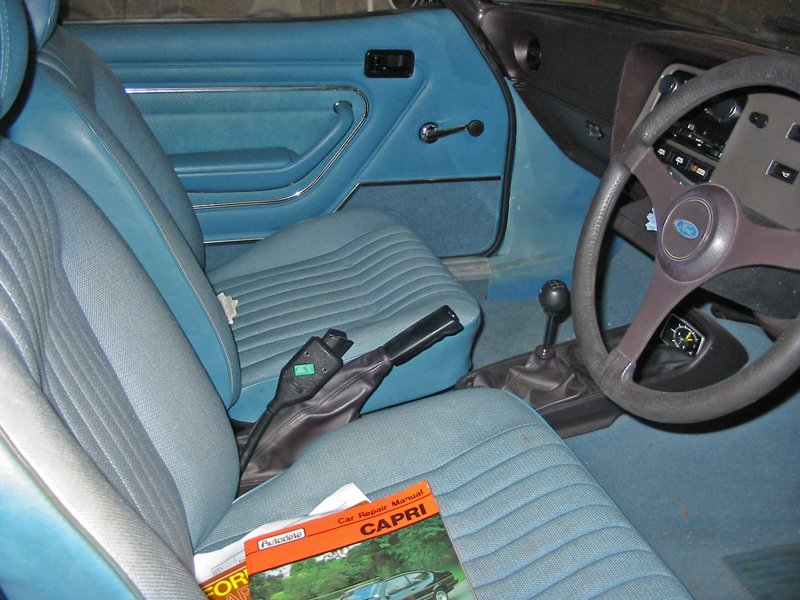
According to the brochure, it’s blue ‘Windsor’ fabric trim  – but hey, this is the same brochure that has the strapline Capri GL – For people who do things in style
EDIT 04/12/07 :
4parajon : Stu don’t know if you already know this or someone has already mentioned but I think you will need a ratchet strap to get the ARB and TCA’s back on the car.
Just mentioning it so you can have everything ready for putting them back on, there’s nothing worse after all the hard work and find you need a certain “tool” to finish the job and you havent got one
DarthVader : Nice work Stu, one thing the nuts for the front ARB are only tightened up once the suspension is loaded up – ie vehicle is standing on its wheels.
First fit the lower control arms to the x-member and then swing the ARB up to thier mounts.