Woohoo  Got the dash back in, all the panels screwed back on and the car hoovered up and everything still works
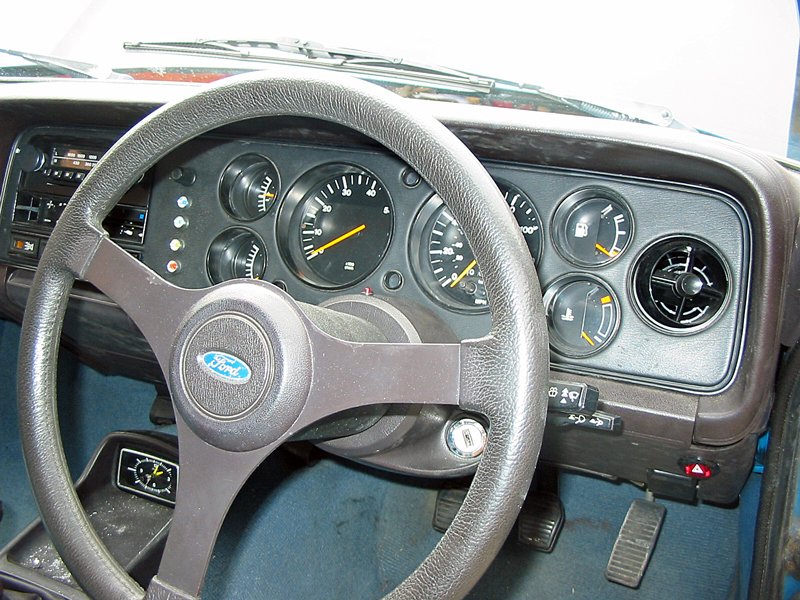
OK, everything, that is, apart from the ammeter on the top left, which isn’t even wired in. Having driven the car around for a few days with the new dash, though, it’s absolutely no loss that it’s not working as it’s the one gauge that is always impossible to see when driving, no matter where the wheel’s turned  I’m sure I’ll come up with something more constructive to put in its’ place eventually … probably something that also has a warning lamp … and a buzzer
After the fun and games this week in the work carpark, I thought it was about time I gave the carb a service. The thing’s covered in nearly three decades of petrol goo and road muck, all the levers and springs look half jammed up with the stuff and because it’s filthy it doesn’t seem to match the pictures in the Haynes when I get under the bonnet to try and adjust it 
Ages ago I got a carb service kit from Burtons. It was under twenty quid and apparently has replacements for all the routine bits – and knowing them a couple of “spare” bits that don’t seem to fit anything …
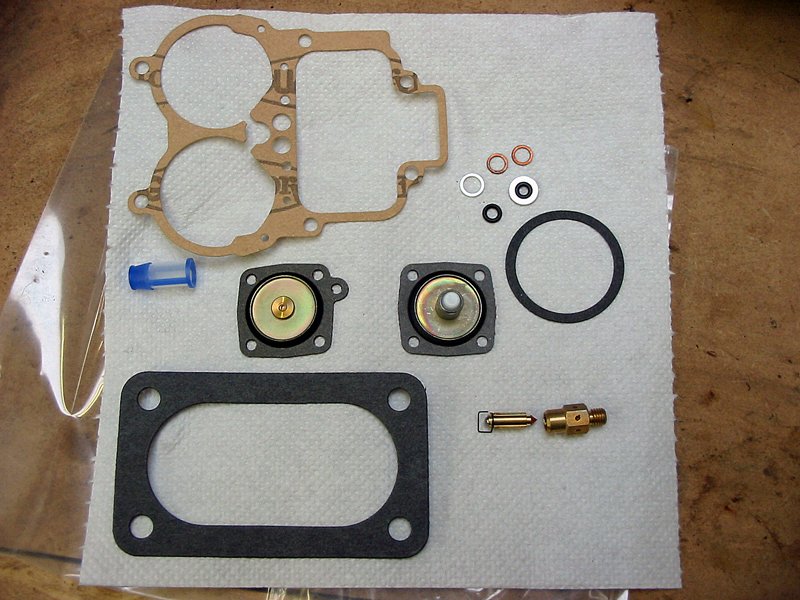
With the carb off the car I could start cleaning it up – and I was rather glad I had a second can of carb cleaner on the shelf as this thing was filthy  Can you tell which side I haven’t got to yet?
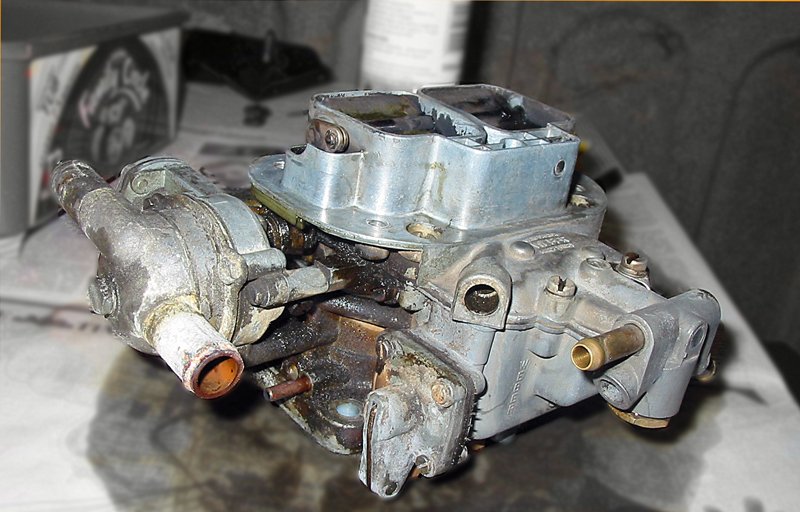
A few hours into the “one hour job” I’d cleaned everything up, disassembled the carb body, replaced the diaphragms on the accelerator and “love”  pumps, changed the fuel filter and the needle valve, squirted the emulsion tubes, stripped the auto-choke mechanism and the various lever assemblies and given everything a damn good clean.
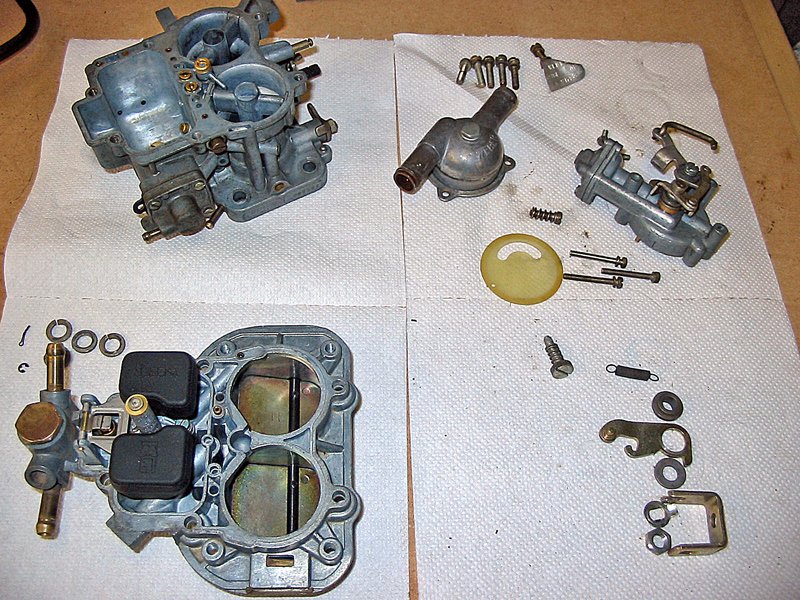
It was a particularly relaxing way to spend a rainy Sunday afternoon as it happens – nothing broke, a couple of pingfuckits went astray but were easily found, nothing seemed to need a special tool that no-one had mentioned before I’d started and things just seemed to go right. 
The only real question that came out of today, however, was what the hell do they make carb cleaner out of ?  This stuff makes Mr Muscle look like the sort of drink you’d give to a child after they’d stopped breastfeeding
  Of the two types on the shelf, the most extreme was the Holts branded one – don’t get me wrong, it’s a great cleaner, but it ate through latex gloves in an instant where the other one hadn’t and the fumes were something else
  I think I’ve discovered the one thing in the universe that could actually kill Domestos …
EDIT 28/04/2008:
Graham: nice one on the dash stu, to me a capri just doesnt look right without the 6 dial dash.
re your carb, it looks like teh only new bit that most carbs really need is the bit you dont have and thats the power valve diaphram, thats fitted to the top of the carb and can be seen sticking up between the two halves of the float bowl. to test the power valve push the valve down and whilst holding it down put a finger over the small hole just bottom right of the treaded aircleaner top left ( as shown in your picture) retaining hole, take you other finger off the valve it will come up a bit, but shouldnt come all the way up until you uncover the hole
me: Excellent tip there graham, I’ll give it a try this evening. The diaphragm itself looked fine with no signs of any tears, but if there’s an industry standard test I can apply as well, then all’s the better Any idea what the washers and the round gasket in the service kit are for, as they don’t seem to relate to anything I’ve seen or taken off just yet? Maybe they’re just for other carbs that the kit also covers Oh, and finally … should the carb go back together dry, or does anything need Loctite, lube, oil or sealant?
Graham: if you go as far as stripping out the spindles then loctite the butterfly retaining screws, otherwise it goes together dry.
another tip stu, if you do remove the throttle butterflies, fit them one at a time making sure you dont have the throttle stop screw fitted, put the butterfly in with the screws only just tight enough so that the buttery can still move slighly in the spindle if you put pressure to it, you should then snap the throttle open and shut a couple of times to center the butterfly properly, you can check the centering by holding to your eye and looking up at a light, the less light you can see around the edge of the butterfly the better centred it is, once happy tighten the butterfly screws fully withoutopening the throttle again
me: OK, first off for all you fans of exciting action shots out there … here’s a shot of me testing the power valve diaphragm using graham’s first top tip Passed with flying colours 
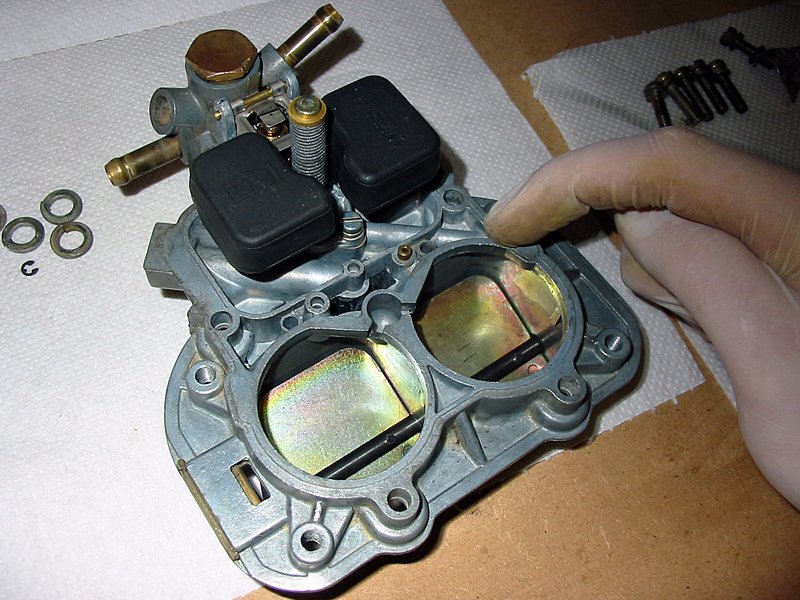
I’ve shied away from totally taking everything apart, so I’ll have to save graham’s second top tip for the future
Whilst sorting out tonight’s pictures, I scanned back through the archives to find one that showed the true state of the carb before I set to work on it … and it’s no wonder I couldn’t tell where half the bits on the diagrams were
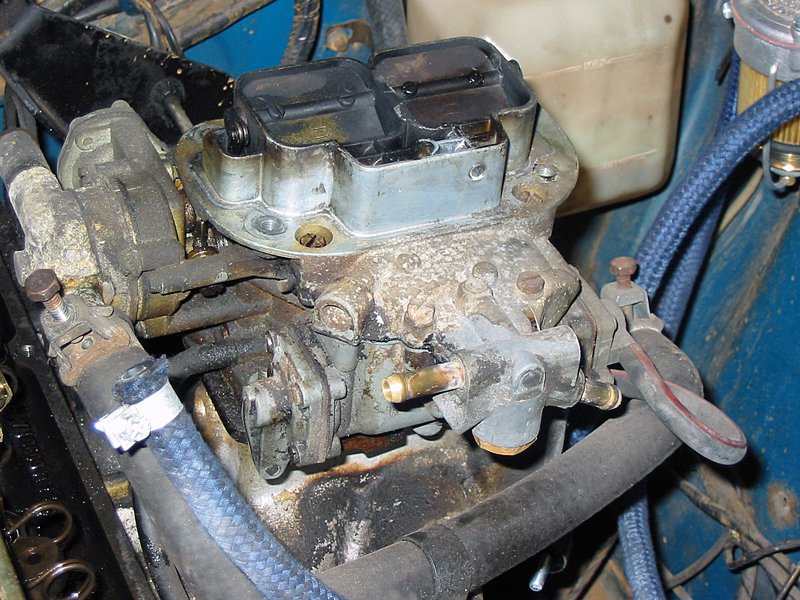
And here it is now, all finished
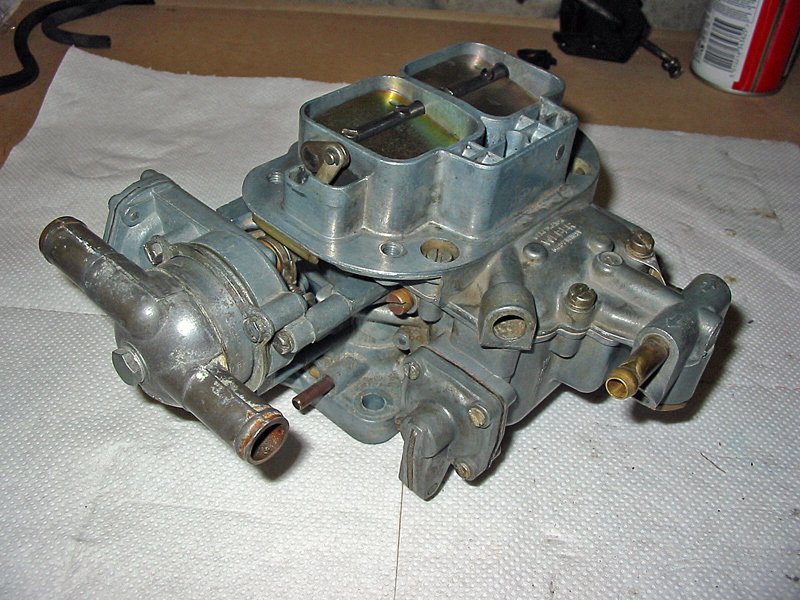
Got everything back and fitted up onto the manifold (once I’d made up a new gasket to go between the insulator and the manifold) and it’s amazing how much nicer it is to work on stuff when your hands don’t get gooey every time you touch anything Reconnected the battery, turned the key and after a couple of cranks it burst into life 
… for all of five seconds The idle’s totally off and I didn’t catch the accelerator pedal in time to give it some welly and stop it stalling.  Unfortunately, it was at this point that the battery decided it had had enough and all that I achieved with further cranking was a splurge of petrol out the top of the carb
Ah well, I’m concentrating on the whole “fired up first time” aspect 